This is one of those "sit back with a cup of coffee" kind of posts. In other words, get ready for a boat load of photos & info about the newest kit release from Studio Calico. :)
I really, really enjoyed working with the kits this month. You can find all of the kits here. (If you're a subscriber, the kits will become available on the 27th @ noon. They'll be live at midnight for everyone else.)
There is just so much that you can do with the kits! Take, for example, these plastic arrows from the Project Life add-on. I added some stitching for a little extra texture.
There are some really cool embellishments in the kits this month! I love the transparent slides & wood veneer words & camera.
The gold doilies in the Scrapbooking kit are just scrumptious! And... the HUGE roller alpha/number stamp in the PL kit makes creating your own sentiments so easy! How about those woodgrain sequins? Mmm!
I had so much fun watercoloring these frames from the Card Kit paper pad! I filled them with bits of paper & embellishments from a variety of kits.
The Maggie Holmes Tag Sale paper from Add-on 2 (Licorice) is soooo awesome! I cut bits & pieces of it & used it on several of my projects. Here's one example:
The Card Kit has some really great layering stamps this month! You've got to check out the lace border. So pretty!
There are some really cool digital products this month too! I used this Back to School set by Shanna Noel to print my background. I cut all of the other shapes out with my Silhouette.
I used another digital set by Lindsay Letters to create the sentiment on this card.
The stamp set in the Card Kit add-on coordinates perfectly with some of the PL journaling cards this month!
I simply stamped the word "Thanks" on a journaling card & adhered it to a card base to create a greeting card. I used the stamps to create a coordinating gift out of a blank Moleskine journal. It's a super simple way of expressing your gratitude! :)
I love this Birch patterned paper by Lawn Fawn (Waffle Cone kit) & wanted to create a card with a simple design to highlight it.
For an added pop of color, I adhered two strips of washi tape back to back, gathered it, & then hand-stitched it in place.
Thanks for taking a peek at my cards for this month! :)


Awesome cards!! How did you do the I Love You digital stamps? I've never tried the brushes. The link doesn't show I Love You.
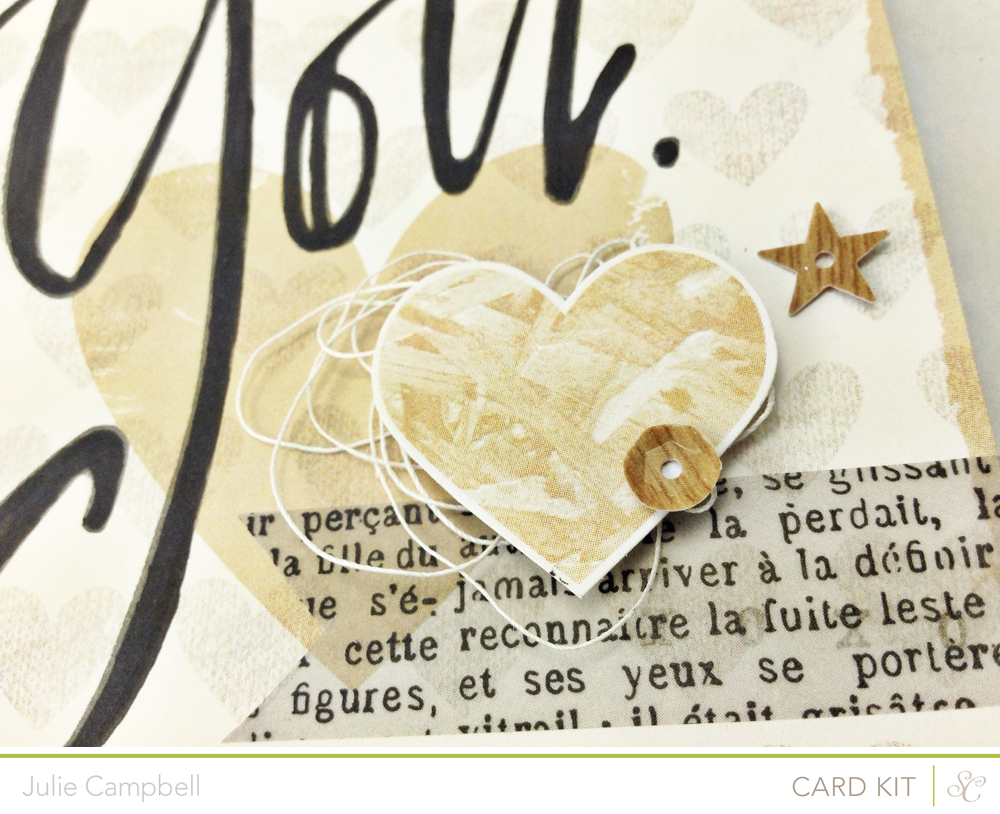
ReplyDeleteGreat question! I used 2 of the brushes (Love It & Be You) & used bits & pieces of each. The "i" came from "it."
DeleteYour cards are fabulous, Julie! I adore the stitches. So fun!
ReplyDeleteSo clever - thanks for answering my question. I will have to try these digital products!!
ReplyDeleteOff the hook gorgeous, Julie. So much incredible inspiration in one post!
ReplyDelete