
Admin Control Panel

Posts Change Layout Sign Out
Showing posts with label sewing. Show all posts

Feb 26, 2015

Make Plush Toys Using Digital Stamps

 Ever since I made these plush wiener dogs, I've been wanting to create a dog that looks like our Boston Terrier.  I just needed to make a pattern.  I was looking at the new digital stamps that Studio Calico released today & a light bulb went on!
This adorable little doggie image reminded me so much of our Boston & it just needed a few modifications to make my plan work.  I opened the image in Photoshop and enlarged it to fit on a 12x12 background.

 I don't have a large format printer, so I just printed off sections of it onto letter sized paper and pieced the pages together.  (It helps to use the borderless printing option.)
 I cut the image out, leaving a 1/4" border along the edges to allow for the seam allowance.

Once my pattern was ready, I pinned it onto a piece of felt.  The higher the quality of felt you can use, the better.  This is 100% Holland wool felt & I love it!
 I cut out the outline of the dog & then cut out several other pieces using additional felt.  (I used the digital image as a reference.)
 I used a tight zig-zag stitch in color coordinating thread to secure each piece of felt in place.
 Once my felt pieces were secure, I hand embroidered some freckles/whiskers to my Boston's face.
 I decided that I wanted my dog to have a contrasting fabric back, so I cut a second piece (using the pattern above) out of chambray.  I placed the wool & chambray pieces facing together (front to front) and machine stitched around the edges, using a 1/4" seam allowance & left a 2-3" opening so that I could turn the pieces right side out.

I like to use my pinking shears to go along the edges.  It makes the fabric seam edges much less bulky.
 After I turned my dog right side out, I created a collar for him using ribbon, a jump ring, & a piece of gold felt.  Once stuffed, the collar can not slip over the dogs head & stays nicely in place.
 I stuffed the dog with polyfill.  I like to use small bits at a time and use a non-sharpened pencil to help push the fiber into tight places (like the ears, legs & tail.)
 I hand-stitched the dog's backside closed & he was all finished!
 I may be a little partial, but I LOVE the way my dog turned out!  He looks so much like our own Boston Terrier.  Both of my boys took one look and their faces split into a huge grin.
 This digital stamp coordinates with the new Calypso kit that's available right now at Studio Calico.  How cute would one of these plush dogs be if given as a gift & packaged with a hand stamped tag & gift wrap?!?  I'm very tempted. :)

Nov 15, 2014

Makers Gonna Make

We went from fall to winter overnight & although I dislike winter with a passion, I love the change in pace that it brings to our lives.  Cold weather makes me want to make.  It's like a fierce craving & I can't rest unless I give into it.  Of course, I love making things with paper, but while I'm waiting for my next kit to arrive, I love working with different mediums - like colorful fabrics, wool felt, and yarn.

If you follow me on Instagram you might have seen peeks of some projects I've been working on lately.  I have a new niece coming soon & I've been busy making things to fill her nursery.  (I'm making a few extras too that will be in a little pop up shop soon.)
These little dolls are very time consuming, but so fun to create.  I love their Mary Jane's and their sweet faces.  Their brother is pretty cute too, if I do say so myself.  :)  I'm addicted to buffalo plaid right now & thought he needed to have a trendy flannel in this print.
I'm also making a pack of dachshunds for my shop.  These are so soft & cuddly & I think they'll look adorable tucked in a little one's bed.
My sister's baby shower was a couple of weeks ago & I was frantically crocheting up to the last minute to get her baby blanket finished.  I think my fingers are still a little numb. ;)  I used a pattern from Very Pink to make this Granny Ripple blanket.  If you're interested in learning how to crochet, I highly recommend her site.  This was my first big crochet project & her video tutorials are so helpful!
 I also made her a couple of pillows to add to her nursery.  Her husband loves owls. :)
One of my favorite bloggers, Amanda Rydell, posted pictures of these adorable house pillows that she created.  I wasn't quick enough to snag one for myself, so I decided to make my own version.

I used stamps from a Studio Calico set as a template for my embroidery.
So, what about you?  Do you get the itch to craft when the weather turns cold?

Mar 31, 2014

Studio Calico Stitched Class - Last Day to Register!

Have you registered for the newest online class from Studio Calico?  Stitched starts tomorrow & today is the last day to register.

In this class you'll learn all about adding machine and hand stitching to your projects.  It's taught by Paige Evans & a great line up of contributors.  Want to take a peek at what you'll be learning?
Along with the class, you'll get free printables, cut files & stitch templates.  Here is one of the templates that I designed for the class:
Also, if you sign up for the class, you can take advantage of this awesome special:
In order for this code to work, you need to:
  1.  Add the Stitched class to your cart
  2. Add a past Scrapbook, Card, or Project Life kit to your cart
  3. Use the code: STITCHED50
I hope to see you in class!

Sep 24, 2011

My Newest Sewing Project: Reverse Appliqué Fall Purse

I love paper crafting... but sometimes I get the itch to pull out my sewing machine and create something with fabric.  I've been dying to make a new fall purse and this one has been in the planning phase for quite awhile.

Last spring, I bought this mustard-colored (1950-60 era) dress from a cool little vintage resale shop in St. Louis.  It was a hideous styled garment, so I got a pretty good deal on it.... and I knew that I wanted to use it to create a purse for the fall.

Fast forward ~6 months and it's finally finished.  It was the first day of fall & I was itching to get crafty.  I just started taking The Good Life class by Amy Tangerine for Big Picture Classes.  This week's lesson is on reverse appliqué, and I wanted to try my new skills on my bag.


Can I just say... I love her.  :)


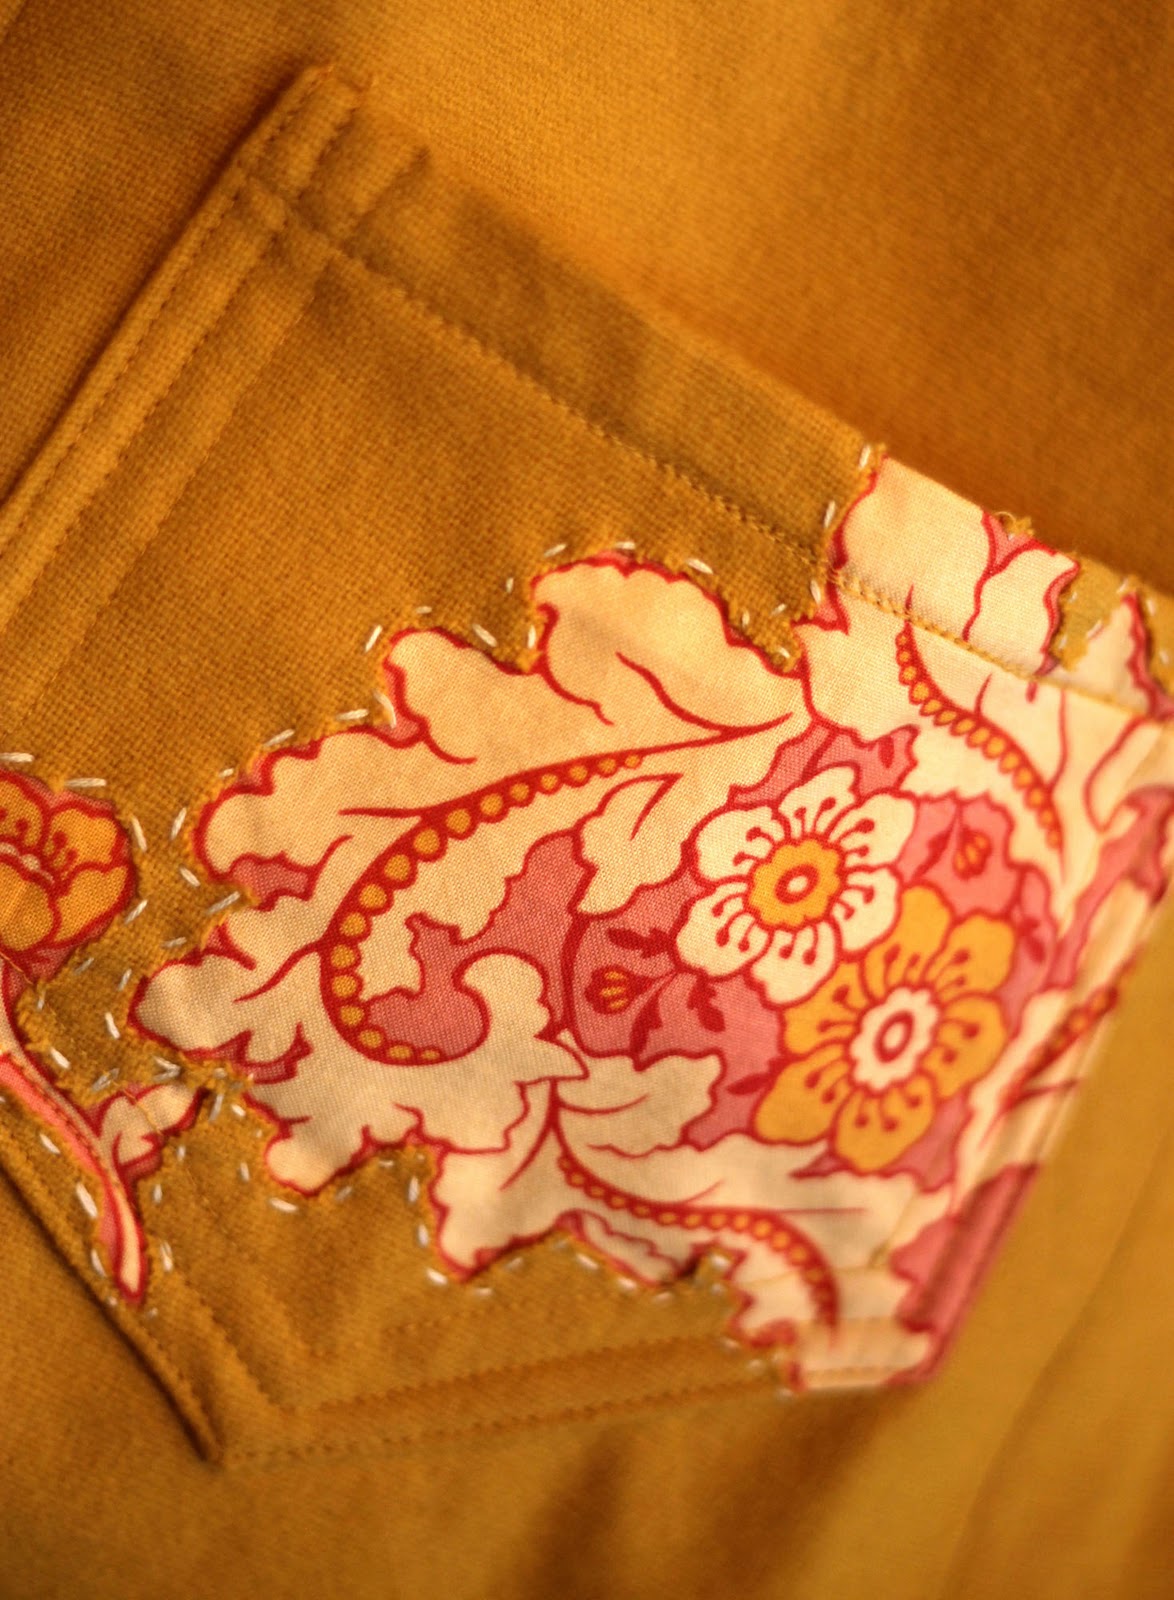
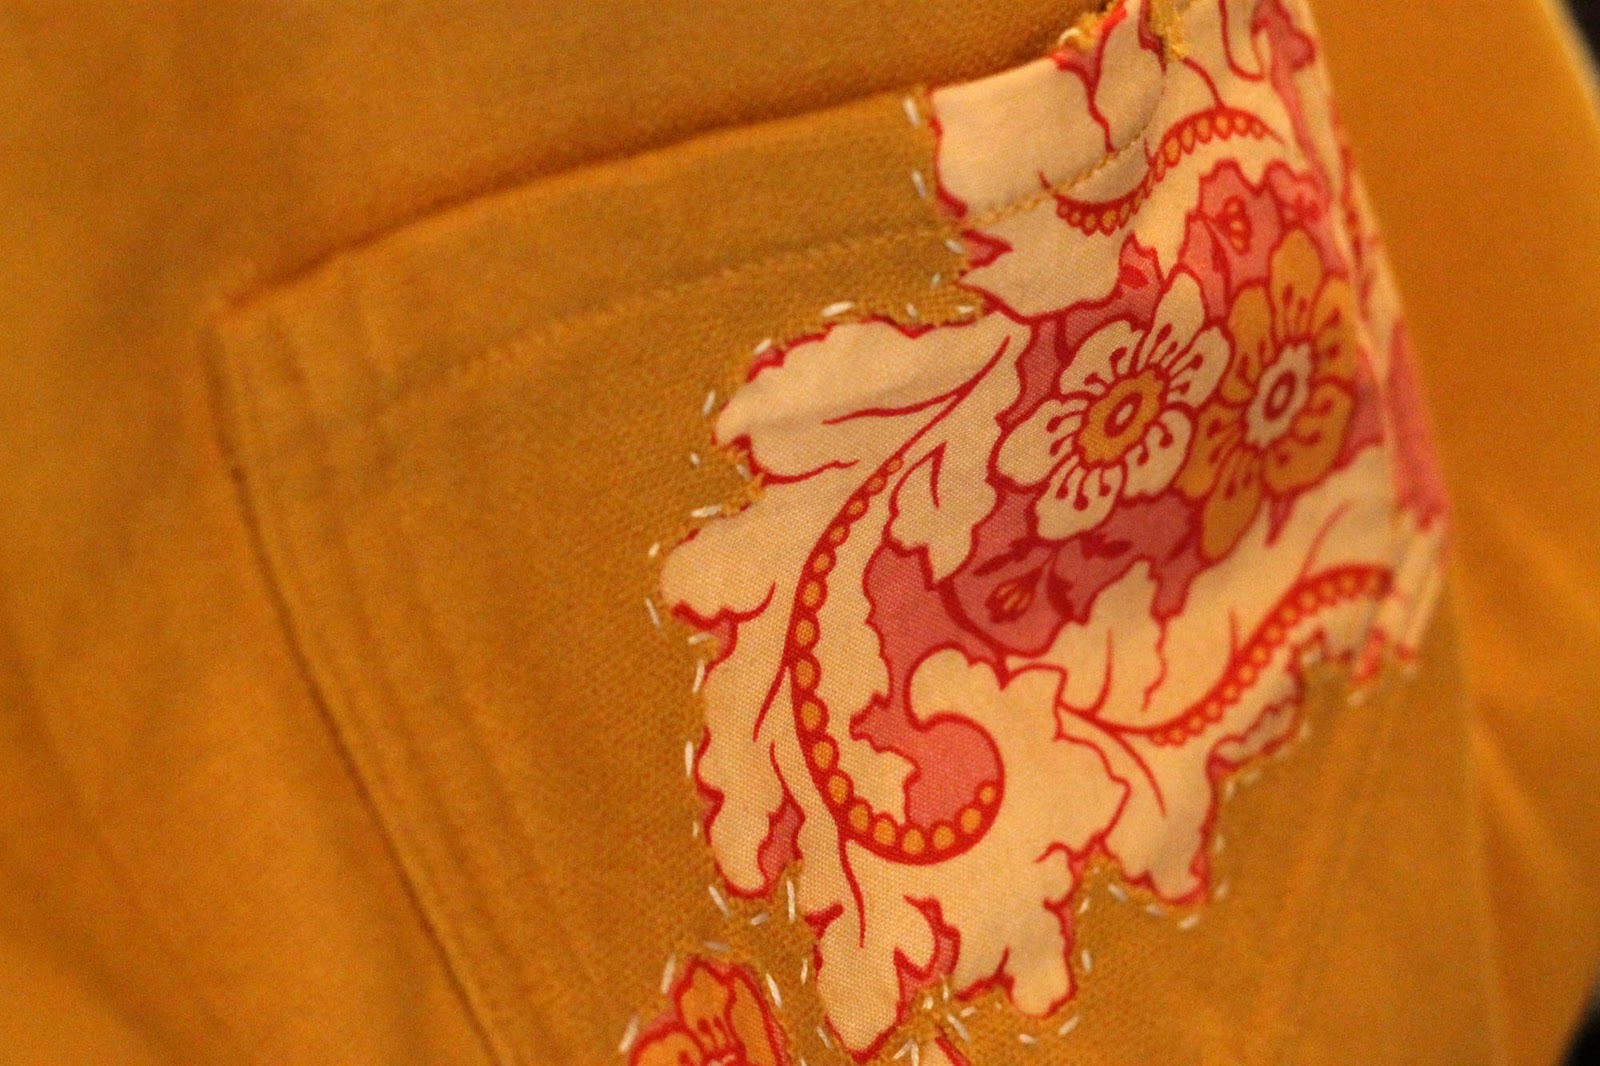
Please forgive my uneven stitching... but I'm learning.  :)  To create my pocket, I layered a piece of yellow fabric over my print and stitched around the pattern that I wanted to reveal.  (The outline was easy to see from the back side.)  Then... I just snipped away the fabric that was inside my stitching lines to reveal the print from below.


The inside of my bag was just too pretty not to share.  :)  I love the zippered pocket and the heavy-duty snap closure.  The button on the front of my bag is for decoration only & really has no purpose other than looking pretty.


Oh!  And I had to show you her back side.  (Hmmm... that just sounds wrong.)  Since I made my purse from a dress, I wanted to preserve just a bit of that history, so I included part of the back zipper.  I think it's very cute back there.  :)


I decided at the last minute that I needed a photo of the coordinating key chain I made.  This pic was taken with my phone, so the color's a little off... but you get the idea.


So... thanks for taking a peek at my new projects!  I think I love fabric as much as I love patterned paper... and this sewing project was just what I needed to get my mojo back.  Hopefully I'll have some fun new paper crafted projects for you soon!

This site has been Tweaked and Designed by Sara Williams | Powered by Blogger | Back to Top
 
Pin It button on image hover